
Hey yall!
I found another tutorial that you might find fun. Over at Wee Folk Art you can find the instructions for making a rag bowl. The following is the one that I made. They are surprisingly sturdy and strong.
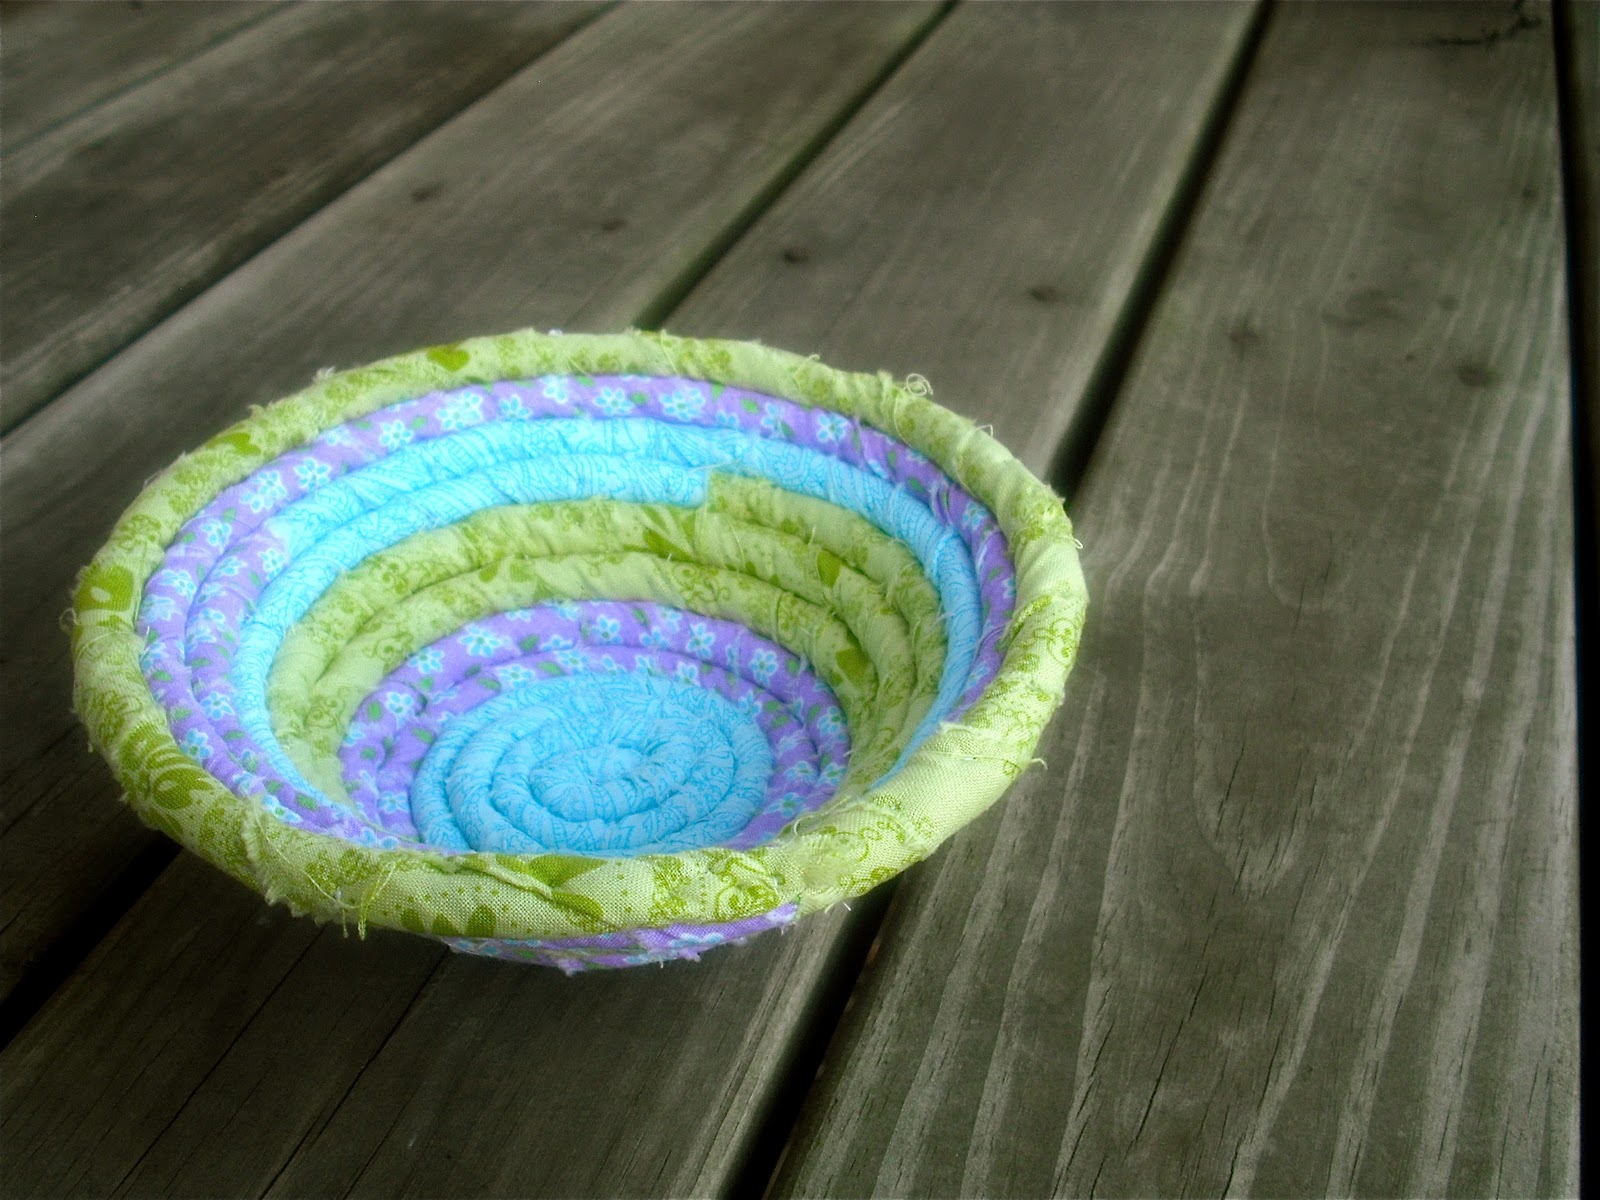
I happen to know that the recipient of this bowl loves the colors purple and blue, I threw the green in for good measure. While I found the tutorial very informative, here are some tips that I think could be of help if you embark on this swirly project yourself.

When it comes to crafts I am a cheater. I absolutely could not afford to purchase the top of the line materials for every project I feel up to making, I just like to make too much. So I completely cheated and ran across the street to my Home Depot and bought rope there. I say cheated because I have absolutely no idea how much upholstery cording is, but I didn't really want to go out of my way to find out if I can find something else to substitute. I bought some that looks like this. Yup, the fabric covered all of those bright colors right up. I can't remember if this was the exact same kind, but it was the definitely the longest (thickest) rope that I could afford. Remember not to get anything too thin because that means a lot of coils for a decently sized bowl. Use any rope you feel like, just make sure the core of the rope isn't made out of rubber or something that you can't sew through easily.
My second tip is to use a curved needle. I didn't use one but I wish that I had. It is easy to make your own curved needle. Hold a needle on both ends with some pliers. Say the magic words, "Hey yo needle I need you to curve, to make a bowl easier you will serve". Ya just kidding.
That totally wouldn't work.
Hold the needle horizontally above a candle. Slowly bend it with both of the pliers. As the metal gets hot it should bend without too much trouble. When you are finished you feel like superwoman for having bent metal with your own two hands.
The purpose of bending the needle becomes clear as you try to insert it through two rows of cording without going straight into the next row. You also use curved needles on some types of hand-made books. And on spherical quilts.
Tip three really isn't a tip, it's a confession. I didn't make a little securing not after every stitch, they sort of got in the way for me. I just held the rows tight as I went.
I also didn't form mine around a bowl, hence the sort of flatter shape.
And my last tip is that if you use needle nose pliers it is so much easier to push the needle in and pull it out without your fingers getting sore.

So yeah, those are my tips.
I honestly loved making this bowl. It's an easy sit-in-your-rocker-and-craft-on-your-lap project.
-Becka
P.S. Just be sure to keep it all tight as you go.
6 comments:
I just love that! And the colors are great. Thanks for the tips. This is something I can see myself attempting.
Came over from SITS.
Haha! You crack me up Becky. "Yo needle!" I think I am gonna start calling you that ;)
That is awesome! I so would not be able to make that!
That is so cute. I love the colors, and had no idea that bowls like that were made with rags. Very cheery!
Love it!! Thanks for all the tips and the magic words! ;)
Oh my! I just found your site from SITS. I am all kinds of in love with this bowl...and your site!
Post a Comment