Showing posts with label food. Show all posts

Thursday, September 22, 2011

Kale Rolls

These are some of my favorite rolls!  They're healthy, delicious and you can have them with every meal.  And, with a cup of kale mixed inside, you can be happy to know that you children will get some vitamins, calcium and iron with every bite.
Ingredients

3 cups hot water
4 TB yeast
1/2 cup olive oil
1 cup green pureed kale (boiled and blended)
1/3 cup sugar
1/3 cup honey
3 tsp salt
3 eggs
6 cups of whole wheat flour
4-6 cups white bread flour

honey butter:  1/2 c honey and 1/2 cup butter

Preheat oven at 375 degrees.
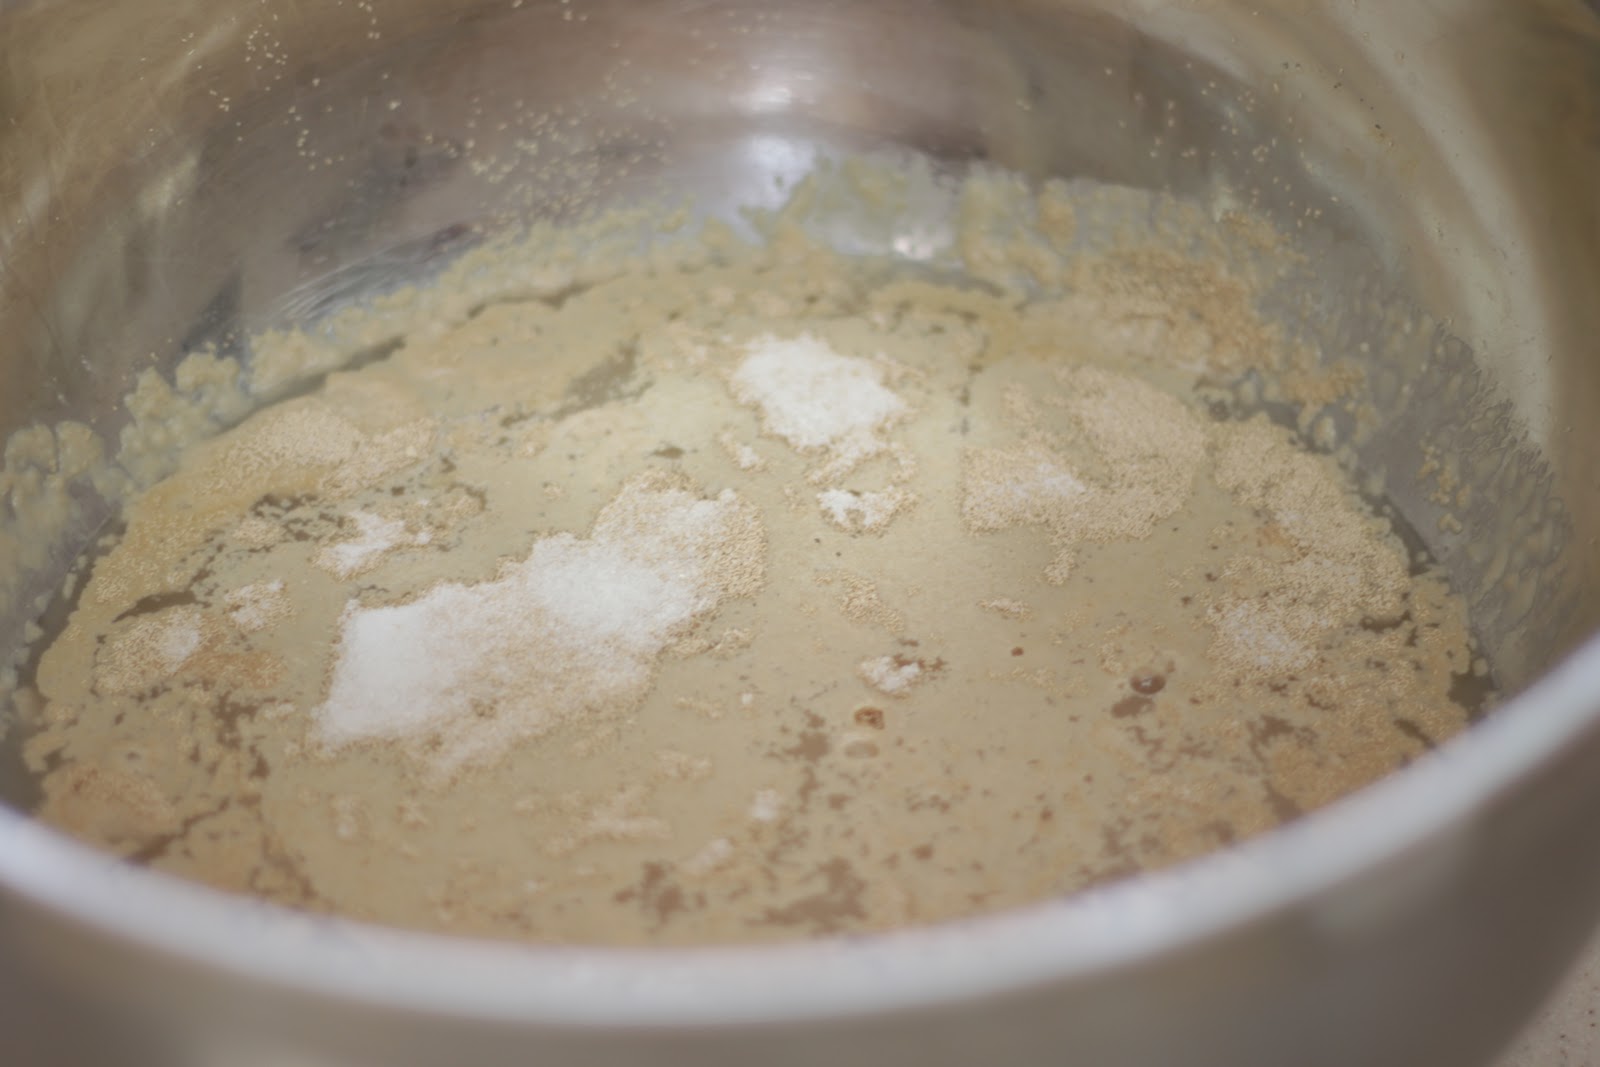
Mix the yeast into a big bowl with the hot water.  Add the oil, sugar and 1/3 cup honey and let the mixture stand for 15 minutes.  

Next comes the eggs, salt and kale.  I like to make a big batch of cooked kale (from CSA) and keep it stored in the fridge and freezer so I can slip it into lots of different recipes.  

Side-note for kale puree:  The kale is pretty easy to prepare.  Just cut off the big stems and clean the kale leaves.  Put it into a pot to boil.  Once it is cooked and soft, you can pour the kale (with some of the nutrient-rich water) into a blender and puree it.  
*This makes a great healthy add-in for scrambled "green eggs and ham."

  Because of the kale, your mixture will look a little green but you really don't notice it very much in the finished product.
Next, start to add your flour.  I like to throw in all the whole wheat at one time.  Then slowly add the white flour in, one cup at a time until the dough gets thick and sticky.
((I should really add this recipe to a St Patrick's Day Link-up Party ;))

Sprinkle flour onto the counter top and roll the dough out in a big ball.  You might need to add more flour so that it is easy to kneed. 
Technically you probably don't have kneed the dough but I think it is fun and it really mixes in all the flour.  Kneed the dough and continue to add white flour until it is less sticky and easy to work with in your hands.  But don't put so much flour in that your dough gets too dry.  You should find a happy medium of white flour between 4-6 cups.


Roll the dough out with a rolling pin.

Keep going until your dough is about 1/4- 1/2 inch thick.

Now for the honey-butter.  
Put the honey and butter into a microwave-safe container and nuke it for 15-30 seconds so it is melted.


Stir up the honey-butter and poor it onto your flattened dough.  Spread the honey-butter out with your fingers or a wooden spoon.  You might not use all of the honey butter- you want just enough honey-butter to make a thin spread on top of the dough. 
However, I recommend that you DO NOT skip this step.  The roll dough has very little sugar which makes it healthy, but they are pretty bland without the honey-butter on top. 

The next part is really fun and it comes from a trick I learned from an Aunt.  
Use a pizza cutter to cut the dough into long triangles, just like...

THIS!
The kids love that part.

Roll each triangle like a small sleeping bag, starting at the fat end and ending with the tip.

Place rolls on a greased pan.
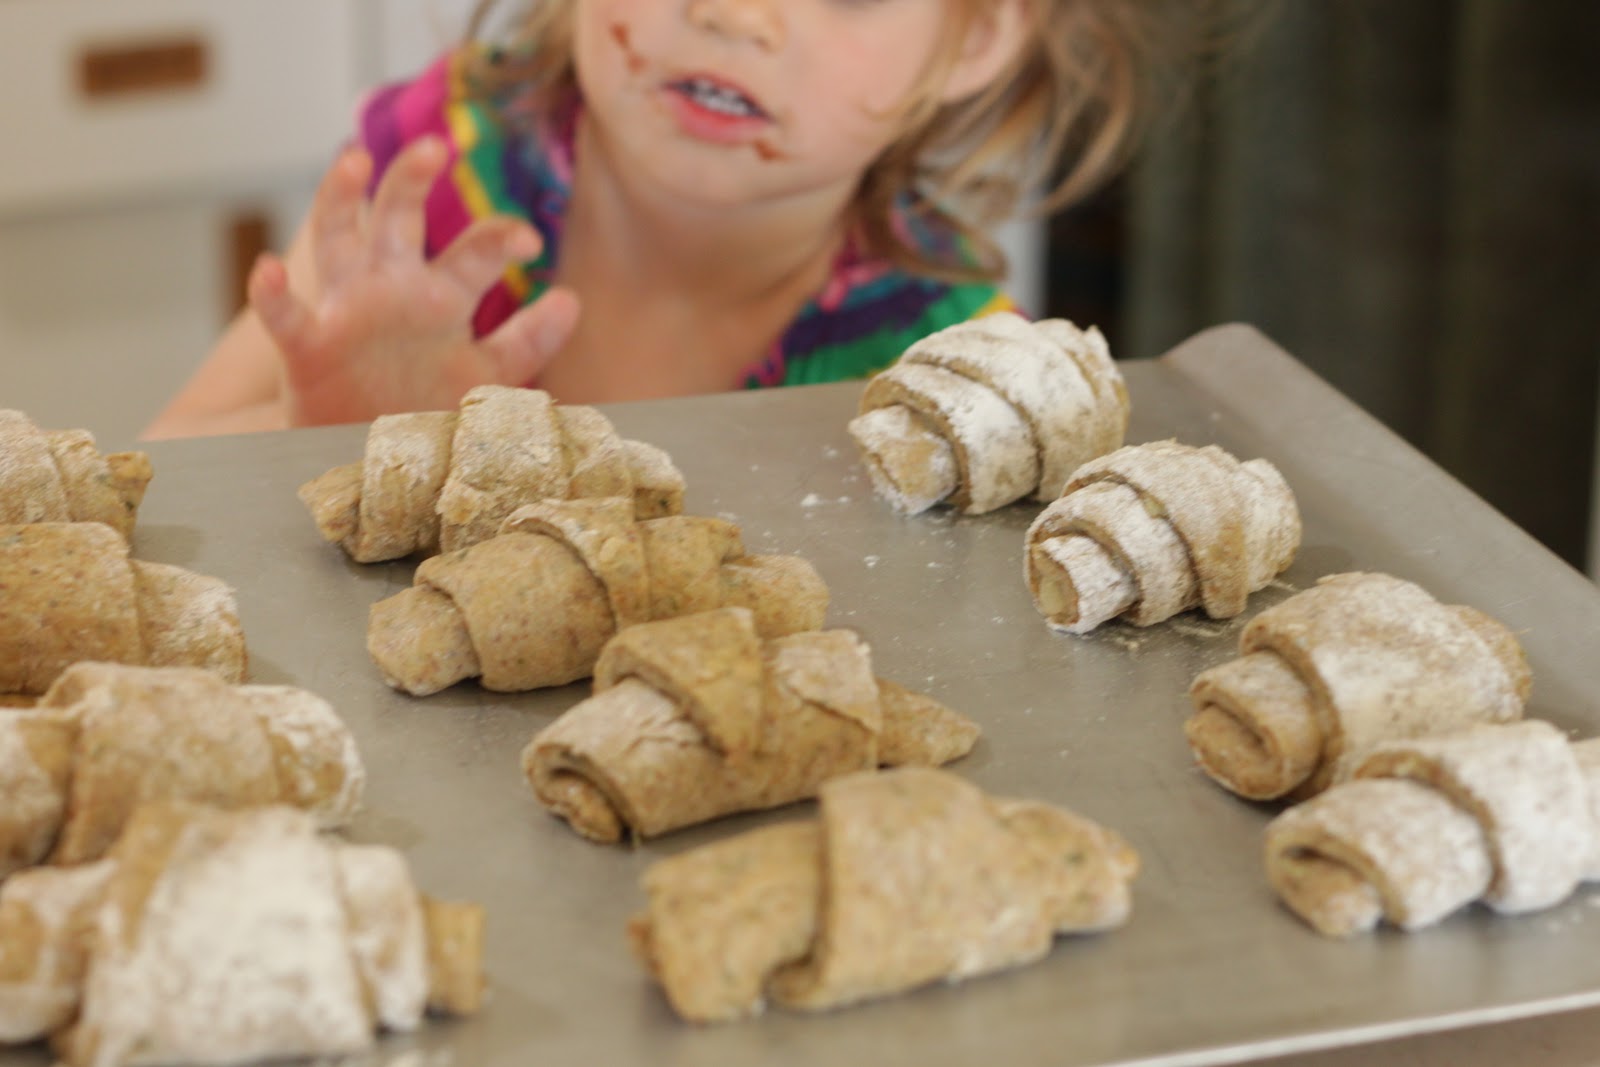
Let them stand for 10 minutes and then bake them at 375 degrees for 15-20 minutes or until golden brown.

 Mmmmmmm!  Warm rolls are the best!
Watch out.  They are addictive!

This is a recipe I've experimented with for years.  This is my favorite variation I created. 


There are all sorts of ways to switch up the recipe.  You can substitute coconut flour/almond flour/ground flax seed, etc for 1-2 cups of the regular flour.
These rolls have a pink tinge because I used pureed, cooked beets instead of kale!

I usually make 2-3 batches of these rolls at one time so I can freeze and defrost them at a later date.  They work great for a quick snack at the park or even fancy dinner dates.They are great with jam!
Chances are that if you are a friend and have come over to my house for snack or lunch time, I've probably served you these rolls.

Happy baking ;)
-CK

Friday, May 27, 2011

Artichoke Pasta Bowl

Ever prepared and cooked an artichoke before?  This new recipe published over at Cook, Clean, Craft shows detailed images of how to steam your artichoke.  And how to make a yummy pasta to go inside!
Narelle is featuring Me, Me, Me posts the whole month of May.  This specialty is something I make for "Me"!


Thursday, May 19, 2011

Beets Divine

Alright, I'll be honest.  Ever since I joined CSA, I have been completely stumped about what to do with my fresh beets.  I tried them in a few different recipes (including beet soup and beet-beans) but I just couldn't get them right.  
For the most part, I considered them to taste just like dirt.  A few times I pawned them off on a some unsuspecting friends but a few more times I "accidently" just let them go bad in my fridge.
I feel a little guilty about it, too.

But, finally, I made a dish that I love!  I tried it again last night and it turned out just divine!

So here is the recipe.  It's real simple.  You only need 3 ingredients:

1/2 lb of diced chicken
4-5 medium sized fresh beets, tops included
Olive oil
Salt to taste

The beets take about an hour to cook in the oven, so you should start preparing the beets at least an hour before dinner time.  Preheat the oven to 350.


First wash them and get all the big chunks of dirt off.


I like to peel my beets, so they don't seem hairy ;)


Make sure you rest them on something that won't get stained.
My paper towel turned pink instantly.


You can cook them first and peel off the skins later, 
but I think peeling them first is less messy. 
After they are peeled, chop off the tops and tips of each beet.


Set your beets in a glass dish (or in tin foil) and coat them with olive oil so they'll roast up nicely.
Here is an image of how you can fold beets up into tin foil:  here.


I sprinkled the beets with salt and put them in the oven at 350 for about 1 hour or until I could slip a knife in easily.  They should be soft like baked potatoes.


Whle the beets are roasting, I cut up the green tops:


I stored them in the fridge until my beets were done roasting.

Right before the beets are ready to come out of the oven, you can stir-fry some meet in some more olive oil.


1/2lb of meat is plenty for me and I cooked it until it was light brown.

Then I added the beet tops and more olive oil so that they were completely coated in the oil.


It looks like there is a lot green beet tops, but they cook down quite a bit.  They take a good ten minutes to saute, stirring constantly.  You want them nice and soft before you serve them.


After the beets were completely roasted, I cut them up in the glass dish.


The roasting helps dampen the earthy flavor and bring out the sweetness in the beets.  

I tossed the red beet chunks in with the greens and chicken and salted the dish to taste.  It was sooooooo good! 


 I just love the flavor of the chicken with the beets and it made a perfect side dish to compliment my pasta-in-artichoke bowl

I am so happy I have a beet dish that I love now!  
No more will I be letting those beets go bad in the fridge!

-CK

Friday, April 29, 2011

Broccoli Soup in a Bread Bowl and the best, darn Peanut-Butter cookies you've ever had!

Ever since Mommie Cooks was featured on SITS I can not help returning to this site multiple times!!!  She makes fabulous family-friendly recipes that are just to-die for (next up on my to-make-list is that yummy looking salmon burger)!

She posted this Irish Soda bread recipe for St. Patrick's day but I have made it multiple times as a side dish for dinner since then.  

I like to use whole wheat flour and some green vegetable puree (ie cooked kale) as a substitute for the butter.
The bread is really dense but it is great for making bread bowls:


I doubled the recipe in order to make two bread bowls.  One for my husband and one for me.
I cut a small circle around the "x" in the top of the bread loaf and scooped out the middle for the bread bowl.
I served the kids soup and "bread-chunks" (the soft bread that I scooped out of middle of the loafs).

I like to use a weight-watcher's recipe for my broccoli soup. 
Basically I cook some broccoli (sometimes carrots/cauliflower/potatoes/onions as well)
in chicken broth with a few other choice spices.
When the broccoli is soft and cooked through, I add a big chunk of velveeta cheese to melt and make the soup creamy.
{Email me if you want the exact measurements for the soup (madebybedtimetales@gmail.com)}


And here's the final product!:
Mmmmmmmm!

My husband was away for another Navy training.  Part way through the training we got to send the guys a treat via a jeep out into the desert.
I chose to make THESE fabulous Peanut Butter Oatmeal Cookies.
These things received 698 five stars on allrecipes.comand I'll tell you why:
They ARE GOOD!


As one comment on the recipe suggests, it is important not to over-cook the dough.
I set the timer for 10 minutes and took them out of the oven RIGHT at the beep.  
This is an important tip if you want your cookies to be soft and chewey.


Another tip I'd like to suggest is to dip these babies in chocolate!
Jen at Rook no.17 is always talking about wilton chocolate melts so I picked some up at Michaels last time I was running errands.  


It was my first time using them, but they were very easy to use!  I just popped them in the microwave and stirred 'em up.


The cookies turned out great!


Super soft and creamy and peanut buttery ;)

And here is my 3 year-old son's rendition of the words "Brown Sugar" 
Can you see the words?  
I love it when he helps me in the kitchen 
(most of the time...) ;)

-CK

Monday, April 18, 2011

I made frosting the other day...

Disclaimer:  I'm usually not this negative, I promise!  I was just having a bad day...


For several days last week whenever I asked my daughter what she would like to eat (meal time or snack time), she would say, "cake".  Well, obviously I didn't just drop what I was doing and make cake for her... well okay, maybe after the fourth day, I thought, "cupcakes would be fun for Easter!"  So yeah, I may have dropped what I was doing to succumb to the will of my two year old.  But I can hardly blame myself if ever I have a good reason to bake up this recipe.
So I baked up a batch of chocolaty goodness, and then I figured I had better decorate them bunny-style, seeing as this was all in support of the Easter holiday.  In the past I have always whipped up some cream cheese frosting since that is my husband's favorite, but cream cheese frosting is a yellowish off-white color, and I hate trying to get pretty pinks and blues out of it.  I needed a white frosting recipe, so I looked in my beloved cookbook, and....
was completely hoodwinked into trying a horrible horrible white frosting recipe, that just didn't work.  I'll be honest, I can't link up the recipe here because I just have too many mean things to say about it.  I've never been the understander of how to make nice frostings, but I will say this:  That 'seven minute frosting' had me standing with the beaters for over a half hour trying to get it to thicken up...
Yeah I had no idea what I was doing.
Needless to say, it did not thicken up.
I had to used it anyway though, and so instead of decorating bunny-style (which I had been so excited to do!), I simply had to slather it on the top of the cupcakes.  And then it dried.  And then the cupcakes had helmets so hard they could have survived a nuclear bomb without hiding in a bunker.
Anyways, we still ate them.  Parts of them.  The parts that were edible.  To sum it up, this is basically how it played out:


-Becka

Have you ever had a recipe flop?


Friday, April 1, 2011

Fish Delish; Food Friday

Every once in a while, an experimental meal turns out great.

(I take a lot of pictures of my food but, unfortunately, a lot of my meals turn out yucky so their opportunity at stardom never reaches the blog.)


For this meal, 
I chopped up some cilantro, 

some fresh green onions from CSA (of course)

added about 2 Tbs of Italian dressing and some minced garlic,

threw in my favorite spices (salt, pepper, oregano, parsley and other italian herbs to taste),

poured in about 1/4 cup of melted butter,

mixed it all together and...

spread my concoction upon some fresh red snapper.

I baked the fish for 20 minutes, flipping them over half way through,

And served this over spanish rice.

It tasted delicious.
Thank goodness for my husband's sake ;)

-CK

LinkWithin

Related Posts with Thumbnails