

Today is our curtsy to spring day! It's been so warm and sunny lately, we've been able to keep the windows open all through the night. I love the feeling and smell of a breeze coming into a dark room. I thought to celebrate I would finally chip in to the huge task of really decorating my home. We have it all settled into, but nothing to 'label' it as ours. This little sweety will be swinging cheerily on our lonely front door. I tried to make it without any hot-glue or cementing products so that I can redecorate the wreath whenever I feel like it.
So here is a very happy, and very cheap spring wreath tutorial!
Step 1 - Gather your supplies.
~ Wreath
~ Dried baby's breath - I've been holding on to this bunch for a few months now.
~ Three choices of fabric for the little bird, her wing, and the leaves.
~ Short piece of wire, and a needle and thread.
Step 2 - Arrange your baby's breath throughout the wreath. I found this grapevine wreath at Michaels for $1.99. I know I will be using it numerous times, so that is a steal!

Just poke them right in there. Take a minute to fidget them around enough so they feel snug.

I spread them along the left side and curved around to the bottom.
Step 3 - Cut out two pieces of the same fabric in the shape of your bird. I don't have a template, but try sketching a simple one out. Remember to keep size in mind.
Cut out two small pieces of another material for the wings.

Stitch them all together! This is the most simple sewing I could muster. I didn't even turn the pieces inside out. To get a frayed look I sewed the pieces right along the edge. No machine, no fancy stitching, just in and out.

Loop stitch the wings on.
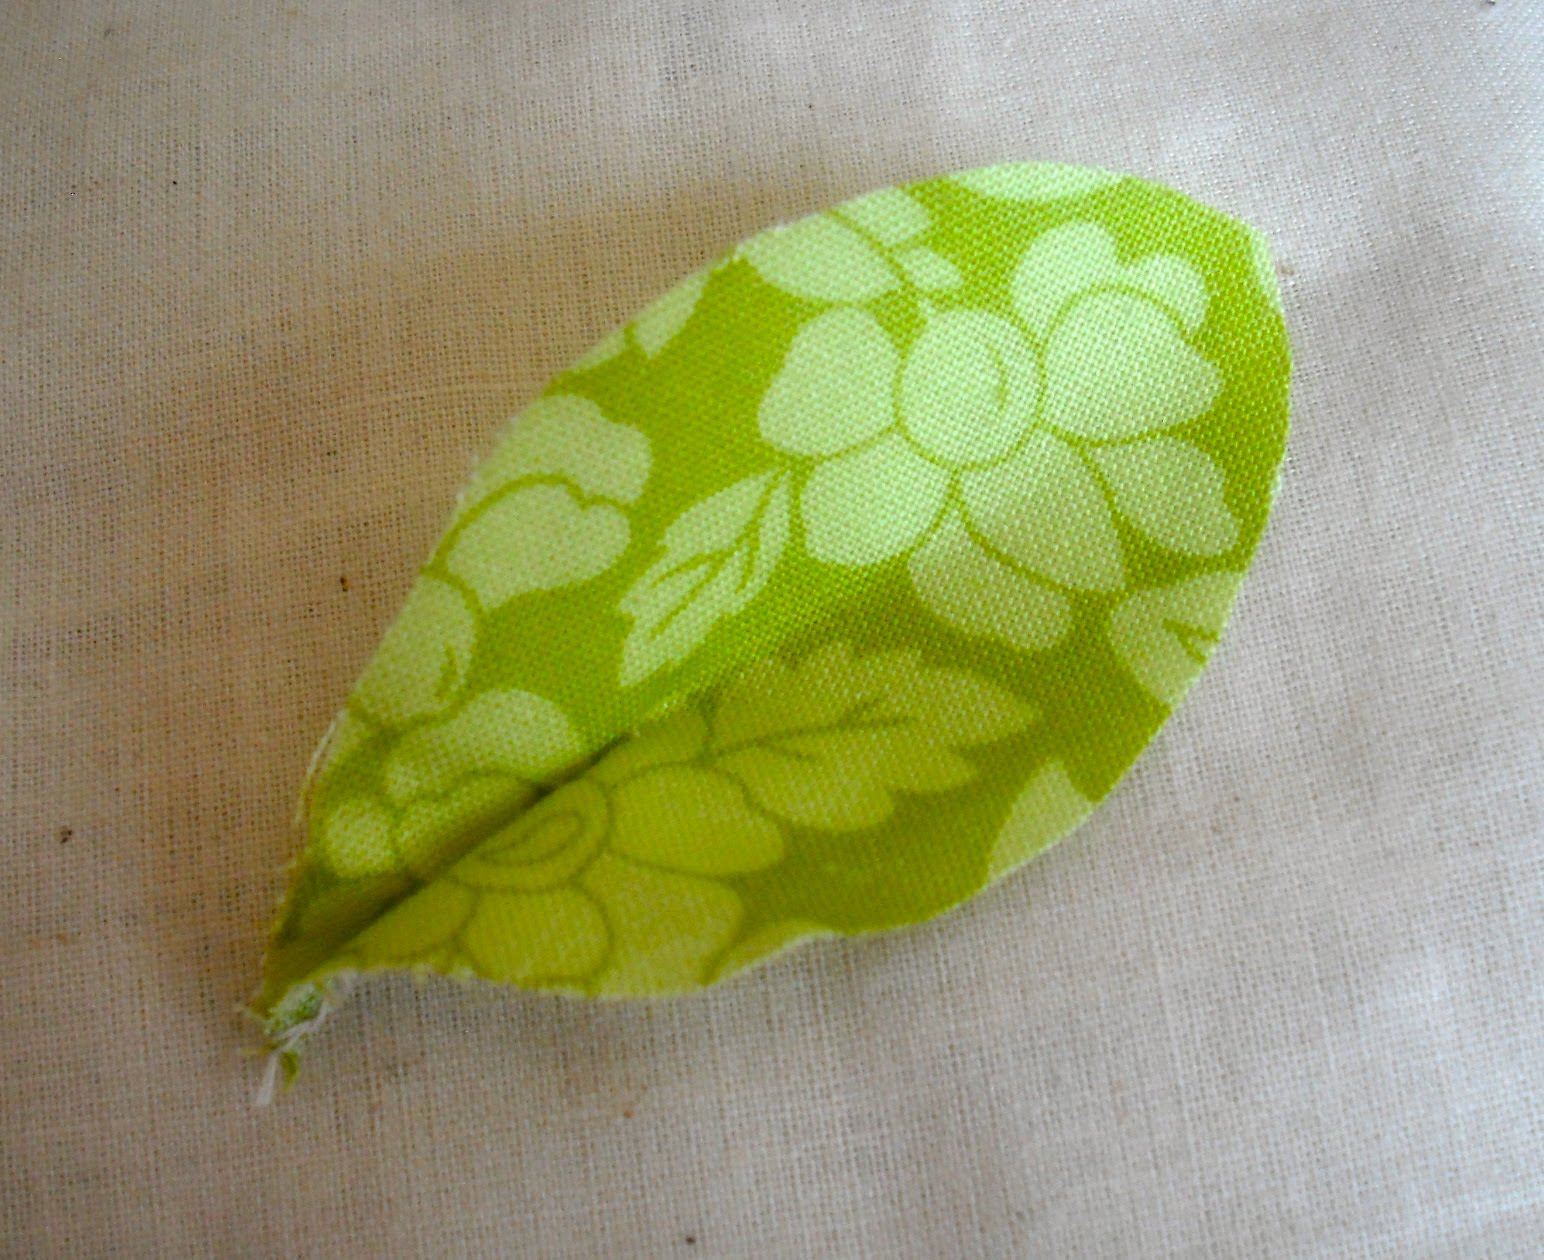
Step 4 - Cut out four leaves of your remaining fabric choice.


To get a pinched leaf look you fold the leaf in half and loop stitch the bottom 1/3.
Step 5 - Assemble! Now because I wanted to save this wreath for future use, I chose not to use a hot-glue gun. You are of course welcome to use one, but here is an alternative.

I took a small piece of wire and poked it in between the stitches of the bird, then looped it back out. The picture describes it best.
Now I just wired the bird to the wreath where it felt like it balanced well.
I then used the needle and thread to make a stitch close to the base of each leaf and tie it down among the vines.

And here is the finished project! The colors make me so happy. You'll have fun choosing out your own!


