Tuesday, April 27, 2010

Just something fun...

I made a few extra aprons for a friend of mine.  She has a boy and a girl.


The girl's was much more difficult because I wasn't able to find the type of dishtowel I like to start out with.  It was not wide enough, hence the added stripes.  And I wish I had been able to find one that wasn't mostly white.  
I still like how it turned out though.  Ruffles can fix anything:) 


The fire truck apron was much more fun to put together. 

Despite what it looks like in the photo, it's not crooked :)


And here is something I need your opinion on.  This little lamb was something I had in mind for a while, and I like how she sewed up.  The only thing I can't be happy about is her little face.  I was going for sweet, but I don't think I got it quite right.  My husband says she looks a little depressed... I'd have to agree.  Maybe something having to do with having a bit large of a nose.   Or maybe it's endearing? 

What do you think?  I need opinions so I have a happier next batch.

This post is linked up at Skip to my Lou


Sunday, April 25, 2010

So long?


A week and a half since I posted last?  A week and a half?  I'm afraid that could leave you with the wrong idea.  I haven't forgotten my blog, or you.  I've just had a couple of HUGE projects set in my doorway, and I need to pick them up and finish them one at a time, whilst not forgetting my little family.
Basically life catches up with you sometimes, and although I normally love to blog often, sometimes things pile up.  I think this might be normal.

There are soooo many fun things I will be finishing and posting about in the next few weeks.  We'll get there.  We can get through this.

But until then, here are some super fun projects for you to enjoy.  I love featuring artists I find on Etsy.  So inspiring.


I love how elegant simplicity can be.  You can find this mug at redhotpottery.  They also feature little nesting bowls and cups.  I love little pieces to put my jewelry in.


Paper box elephant puppet, found in jackiehaltom's shop.
Can you believe this!  A moving elephant in a world of beautiful designs!  I love the colors.


In Krakracraft's shop I found these charming dolls.  They are so unique.  Again the colors make me so happy inside.  This shop has me hooked right now, go check it out!


Occassionally I like to look into handmade cards and their graphics.  I died when I saw this little guy and how anxious he was to tell you something.  So sweet.  He's in diskgrunt's shop.


Oh how I would love to have one of these in my entryway one day.  The colors are so bold, aren't they fun?  OldNewAgain has amazing home decorations from wood.


And this one is for all you quilters out there.  DashasCreations are simply beautiful.  This makes me want to go make a quilted bag myself!

I hope some of these inspire you!  I love looking through my Etsy 'favorites' and seeing what they are up to!


Wednesday, April 14, 2010

waffle addiction


I love waffles.  They're thick and utterly tasty.  And of course, full of squares!  As an elderly gentleman dining at the restaurant where I work put it, "Waffles are just funner to eat than pancakes."  And I have to admit.  He's totally right.

I've recipe-hopped quite a bit trying to find a good waffle recipe.  I'm a little picky.  I want my waffles to be thick, yummy, and healthy.  Something I can make a bunch of in the morning and not feel bad about snacking on throughout the day.  All of the recipes I have tried are basically great, but don't quite fit all the criteria.  So I melded a few of the ingredients and created my own recipe.  The best part is that most of the ingredients I guarantee you'll already have in your cupboards.
Hark!  Becka's Waffle recipe:

Ingredients:

1 1/4 cups whole wheat flour
3/4 cups whole oats (uncrushed)
2 tsp baking powder
1/2 tsp salt
1/2 tsp baking soda
1 & 2/3 - 2 cups buttermilk or low-fat milk
2 eggs
2 Tbs vegetable oil
2 tsp vanilla
2 Tbs brown sugar (optional)

Mix dry ingredients.  Add milk, eggs, oil, and vanilla.  Blend.  Iron.

Tada!  So easy.  It makes about 9 - 10 of these nifty square sizes.  Feel free to get creative and add extra ingredients such as little blueberries, craisins, or chocolate chips.  As a heads up, the waffles really aren't that sweet, hence the optional brown sugar.  But then again, if you will be adding something sugary on top, no worries.


I like mine plain.
S

Thursday, April 8, 2010

Curtsy to Spring - Easy wreath tutorial


Today is our curtsy to spring day!  It's been so warm and sunny lately, we've been able to keep the windows open all through the night.  I love the feeling and smell of a breeze coming into a dark room.  I thought to celebrate I would finally chip in to the huge task of really decorating my home.  We have it all settled into, but nothing to 'label' it as ours.  This little sweety will be swinging cheerily on our lonely front door.  I tried to make it without any hot-glue or cementing products so that I can redecorate the wreath whenever I feel like it.

So here is a very happy, and very cheap spring wreath tutorial!


Step 1 - Gather your supplies.  
~ Wreath
~ Dried baby's breath - I've been holding on to this bunch for a few months now.
~ Three choices of fabric for the little bird, her wing, and the leaves.
~ Short piece of wire, and a needle and thread.


Step 2 - Arrange your baby's breath throughout the wreath.  I found this grapevine wreath at Michaels for $1.99.  I know I will be using it numerous times, so that is a steal!


Just poke them right in there.  Take a minute to fidget them around enough so they feel snug.


I spread them along the left side and curved around to the bottom.


Step 3 - Cut out two pieces of the same fabric in the shape of your bird.  I don't have a template, but try sketching a simple one out.  Remember to keep size in mind.  
Cut out two small pieces of another material for the wings.


Stitch them all together!  This is the most simple sewing I could muster.  I didn't even turn the pieces inside out.  To get a frayed look I sewed the pieces right along the edge.  No machine, no fancy stitching, just in and out.  


Loop stitch the wings on.


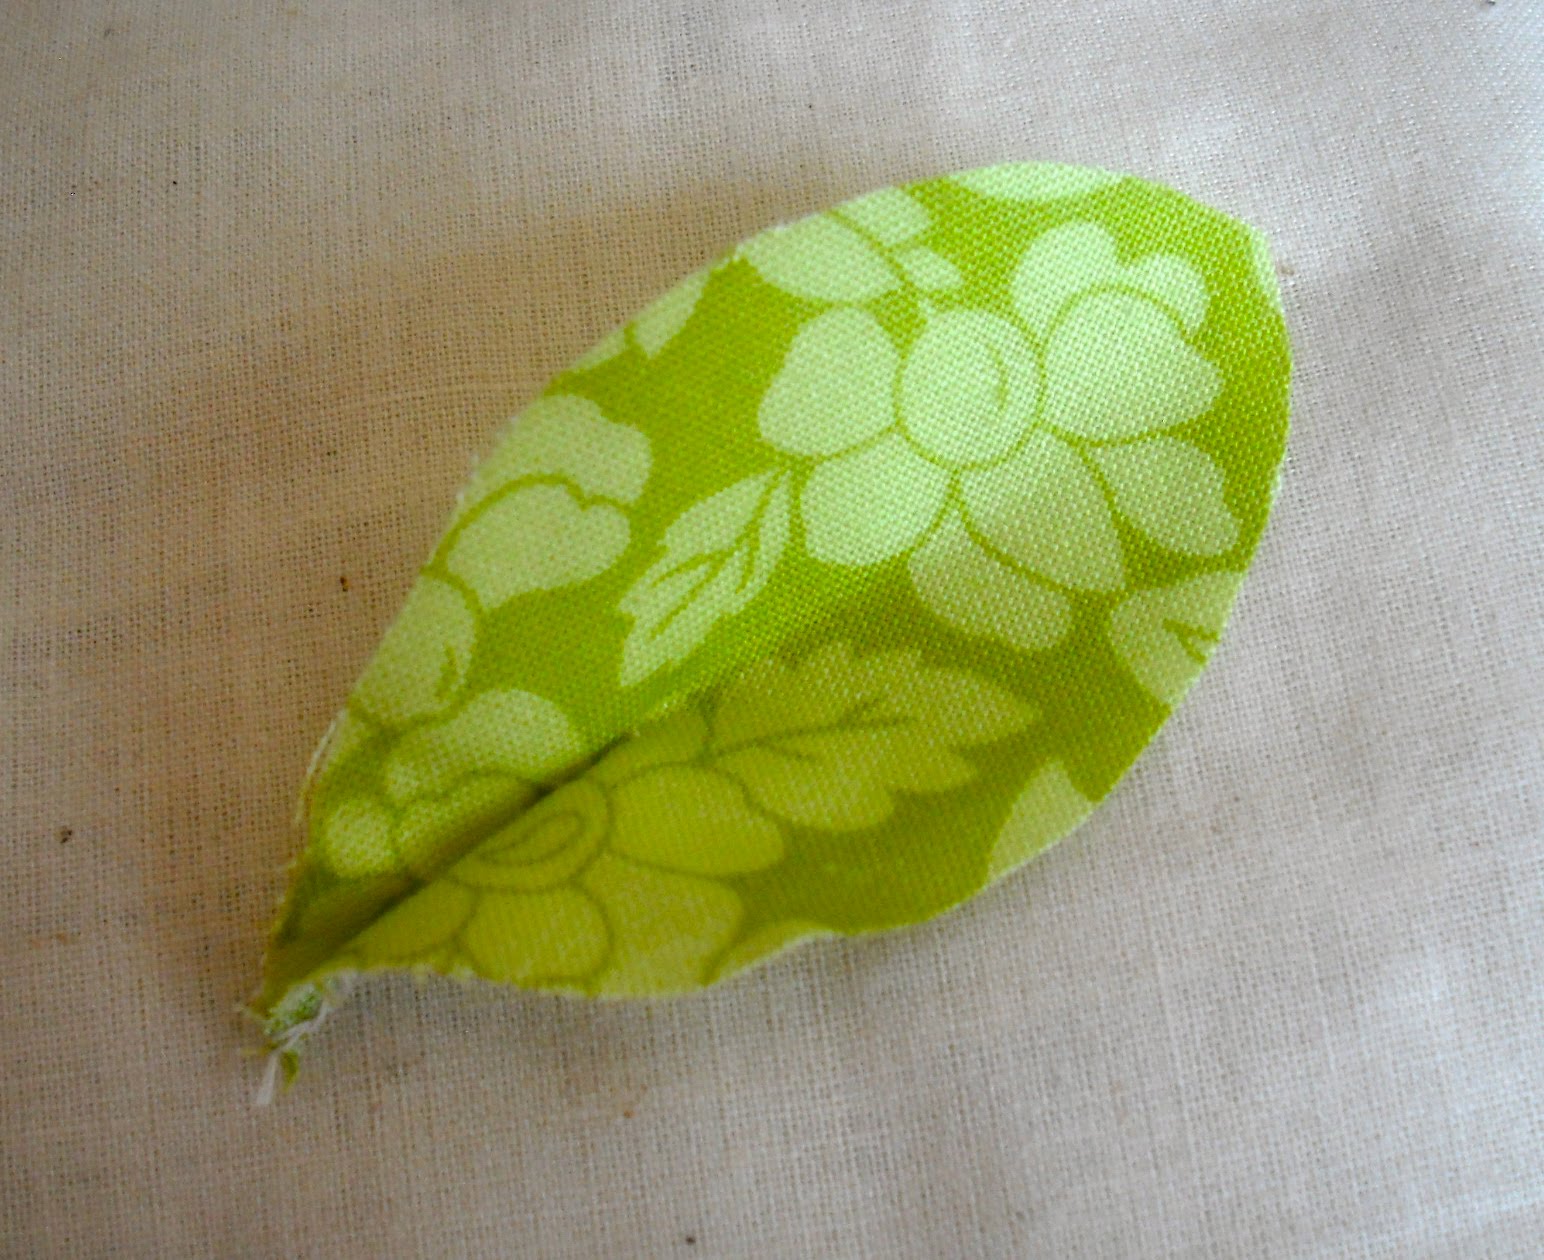
Step 4 - Cut out four leaves of your remaining fabric choice.


To get a pinched leaf look you fold the leaf in half and loop stitch the bottom 1/3.


Step 5 - Assemble!  Now because I wanted to save this wreath for future use, I chose not to use a hot-glue gun.  You are of course welcome to use one, but here is an alternative.


I took a small piece of wire and poked it in between the stitches of the bird, then looped it back out.  The picture describes it best.
Now I just wired the bird to the wreath where it felt like it balanced well.  
I then used the needle and thread to make a stitch close to the base of each leaf and tie it down among the vines.


And here is the finished project!  The colors make me so happy.  You'll have fun choosing out your own!


Tuesday, April 6, 2010

Easy doll dress


When we first moved to this apartment I scouted out all of the stores within walking distance.  Across the street a little way was a cheap old dollar store.  Cheap cheap.  I went in for a dollar broom and some scrubbing sponges.  Imagine my surprise when I looked above the cash register at checkout and saw on a shelf up high a baby cabbage patch doll!  Totally flabbergasting, no idea why it was there.  Anyway, I forked out the $10 (I got the idea this wasn't a regular item) and figured I could change this bald little boy doll into a girl without too much of a hassle.  

So now I've made a sweet $10 cabbage patch doll into a great gift for my daughter with loads of little dresses to come.  I did a bit of research online for quick and easy tutorials.  Here are a few I've found.


This first one was found at Wiener dog tricks.  I used the tutorial to make the dress above.  


Totally my kind of tutorial.  Easy and simple.  There isn't even a pattern, you just use scraps.


I added the button to hide a bit of the stitching, and pinched the sleeves into little pleats because her shoulders are so small.  I'm in love with the old fabric.

The second tutorial can be found at Obsessively Stitching.  The idea is that you use baby clothes you already have.  I haven't tried it yet, but it is definitely on my to do list.

And the last one I want to share is also from Obsessively Stitching .  She shows how to scale down a baby onesie to fit a doll.  This one looks a little more complicated.


I'd like to point out that if you are wanting to create your own doll or children's clothes, it's quite possible to use something you already have as a pattern.  Turn the old outfit inside out and cut out pieces that are similar.  Work your way through it and you can quite often come out with something you had no idea you could create!


That's what I did with this last outfit.  The little baseball uniform is what the doll came in, so I just took some of my scraps and copied it.


Saturday, April 3, 2010

Keeping it simple?


Isn't it crazy how holidays just seem to creep up faster than you can plan?  By the time I realized it was Easter I figured it was too late to go all out.  Having just a one year old kinda helps in pulling off a simple year.  I stopped at the dollar store and bought a few candies and eggs for an Easter egg hunt, mostly for my husband's and my enjoyment in watching her search for the colorful eggs.  


But while at the store I saw an adorable dish cloth that was the perfect size to try this project.  She loves to help me out as I cook.  Yesterday the corner of our pizza was devoid of any cheese, she's a natural at snitching cheese whenever the food presents itself.  So of course I figured if I splurged and bought it this could go nicely as an Easter gift.  Something about the colors remind me of a popular bunny food.

As you can see I drastically changed the design.  I wanted the straps to all be connected for the ease of little arms trying to dress themselves.  I got the idea from here, but changed it to fit what I envisioned in my head.


Then my sister suggested I add ruffles.  And how could I not?


LinkWithin

Related Posts with Thumbnails